License Activation
Licensing Overview and Activation Purpose
SafeSquid requires valid licensing to enable full functionality and continuous availability. Two licensing options are available:
-
Free Licensing: Always free; supports core functionality without time restriction.
-
Commercial Licensing: Includes real-time threat intelligence updates, 365-day disaster recovery and backup, and email-based support.
License activation is completed post-installation and is essential for activating subscription-based features and ensuring platform synchronization.
Activating multiple SafeSquid instances using the same activation key enables synchronization of SSL certificates and configuration files across nodes.
Readiness Checklist
Client-Side Preparations
- Ensure the SafeSquid server has unrestricted outbound Internet access.
- Allow traffic through the firewall to the following endpoints and ports:
Licensing and Update Services
| Host | Port | Purpose |
|---|---|---|
| api.safesquid.net | 443 | License activation |
| swgupdates2.safesquid.net | 443 | Subscription, malware definitions |
| swgupdates.safesquid.net | 80 | Seqrite updates |
| sslupdates.safesquid.com | 443 | SSL certificate updates |
| category.safesquid.net | 443 | Category DB updates |
| download.quickheal.com | 80 | Virus signature updates |
URL Categorisation Engines
| Host | Port | Path |
|---|---|---|
| prourl.itsecure.co.in | 8080 | /URLCategorizerService/URLCategorize |
| encurl.itsecure.co.in | 8080 | /URLCategorizerService/URLCategorize |
| klassify.itsecure.co.in | 8080 | /URLCategorizerService/URLCategorize |
| prourl.itonlinesecure.in | 8080 | /URLCategorizerService/URLCategorize |
| encurl.itonlinesecure.in | 8080 | /URLCategorizerService/URLCategorize |
- Validate DNS resolution and establish successful HTTPS connections to each host.
SafeSquid-Side Setup
- Install and configure the SafeSquid service on the target system.
Activation Procedure
Generate Activation Key
Registration Process
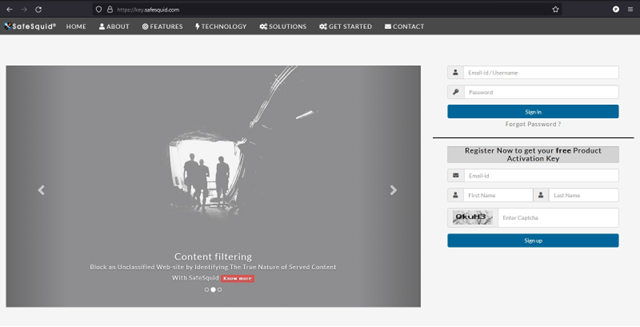
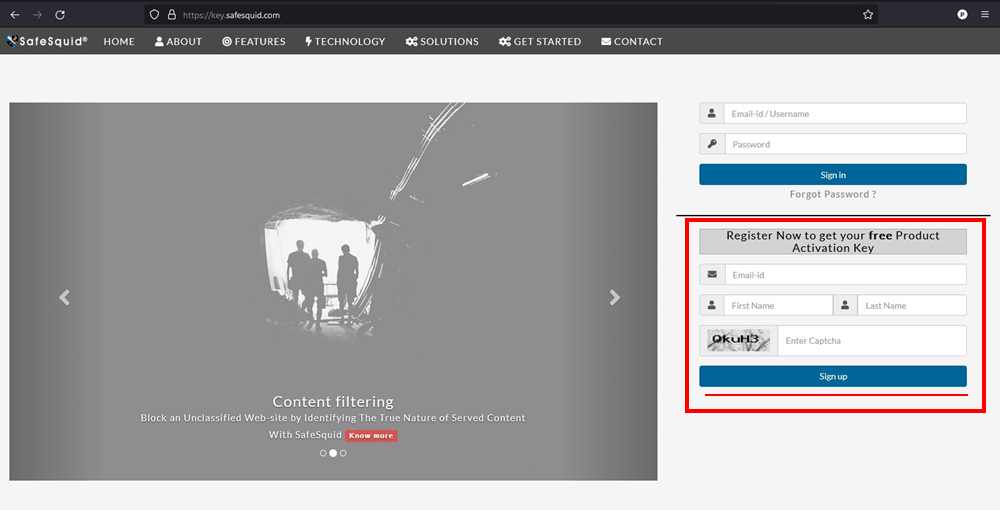
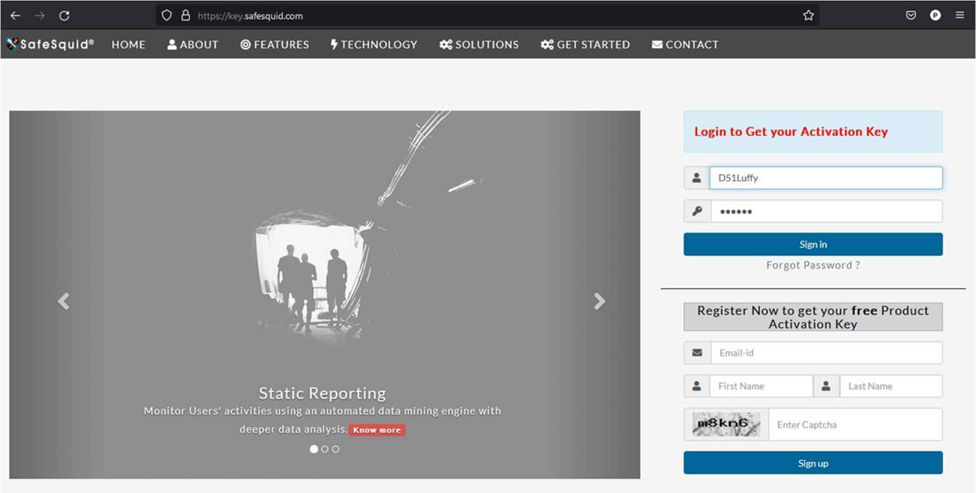
Visit https://key.safesquid.com
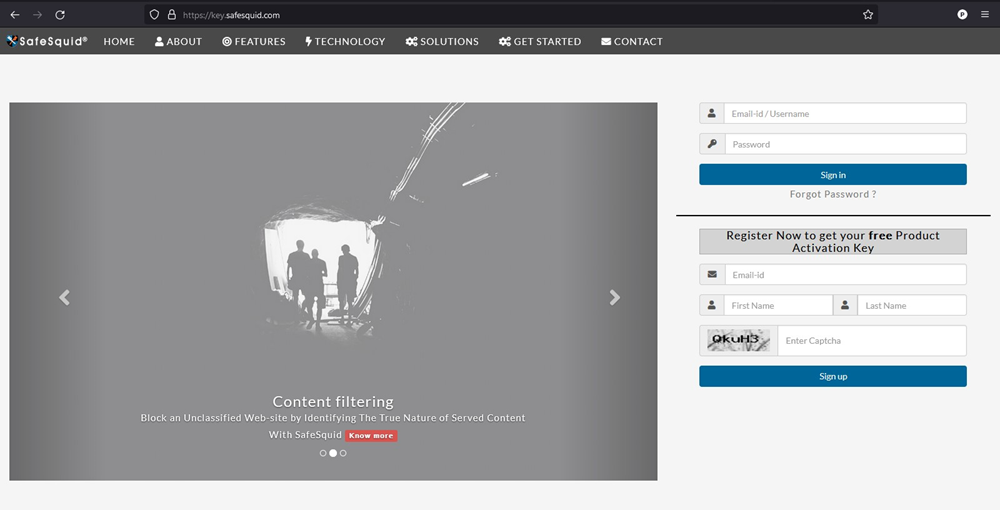
Enter your email address, First Name, Last Name, Captcha and then Click on "Sign Up."
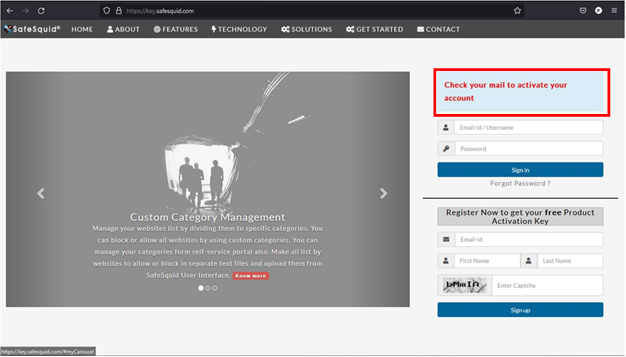
You'll receive an email to activate your account in your registered email address.
Click on "Click here to activate your account."
You'll be directed to https://accounts.safesquid.com/?success=
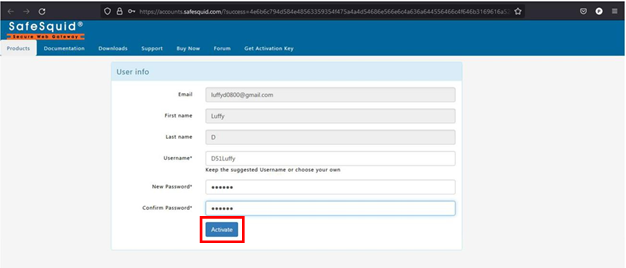
Enter your new password in "New password", "confirm password."
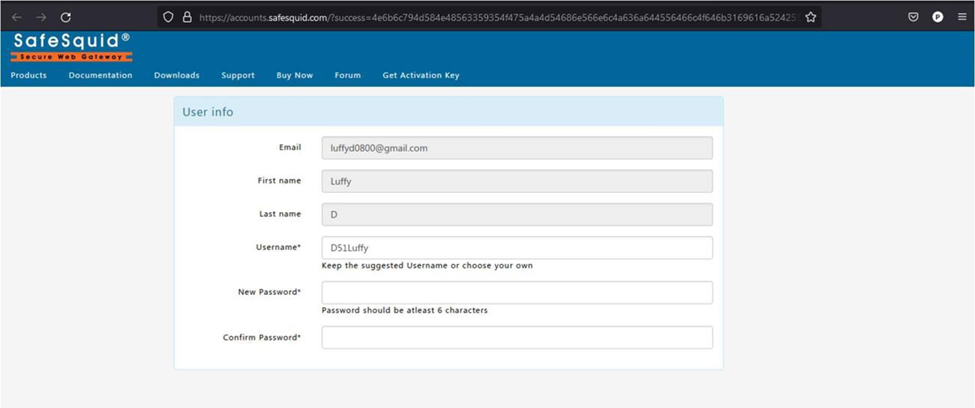
click on "Activate."
Enter your username and password and click on "Sign In".
Activation code will be generated, and you'll be directed to https://key.safesquid.com/portal.html
Fill in the user info and contact information.
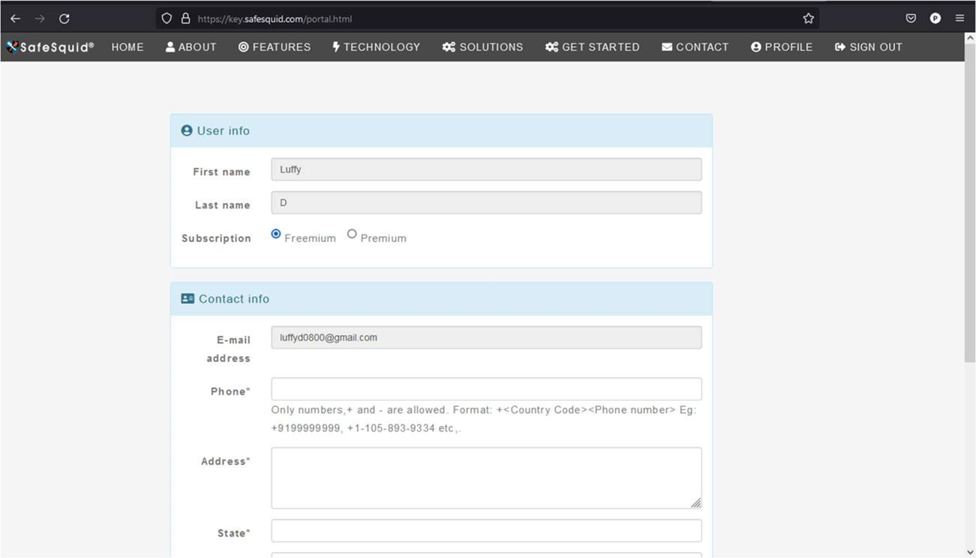
Click on "Save Profile".

Your activation key has been generated.
Click "close".
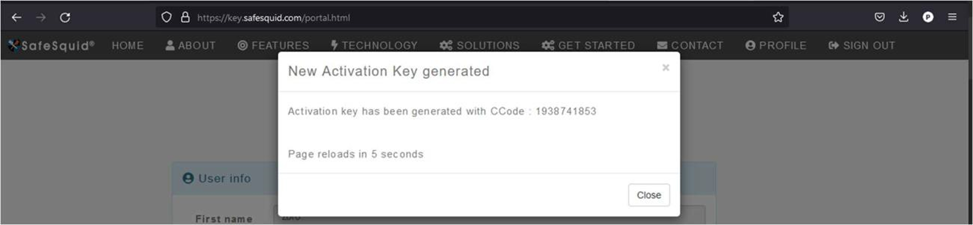
Page will be reloaded, and you'll be redirected to your home page.
To download your activation key, click on "Download Key".
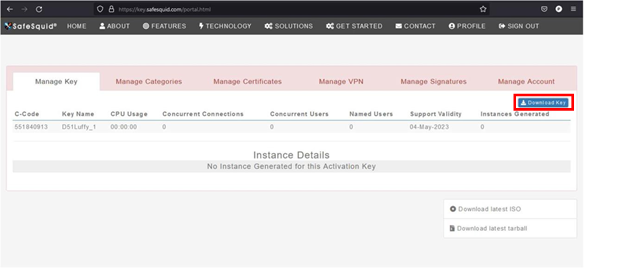
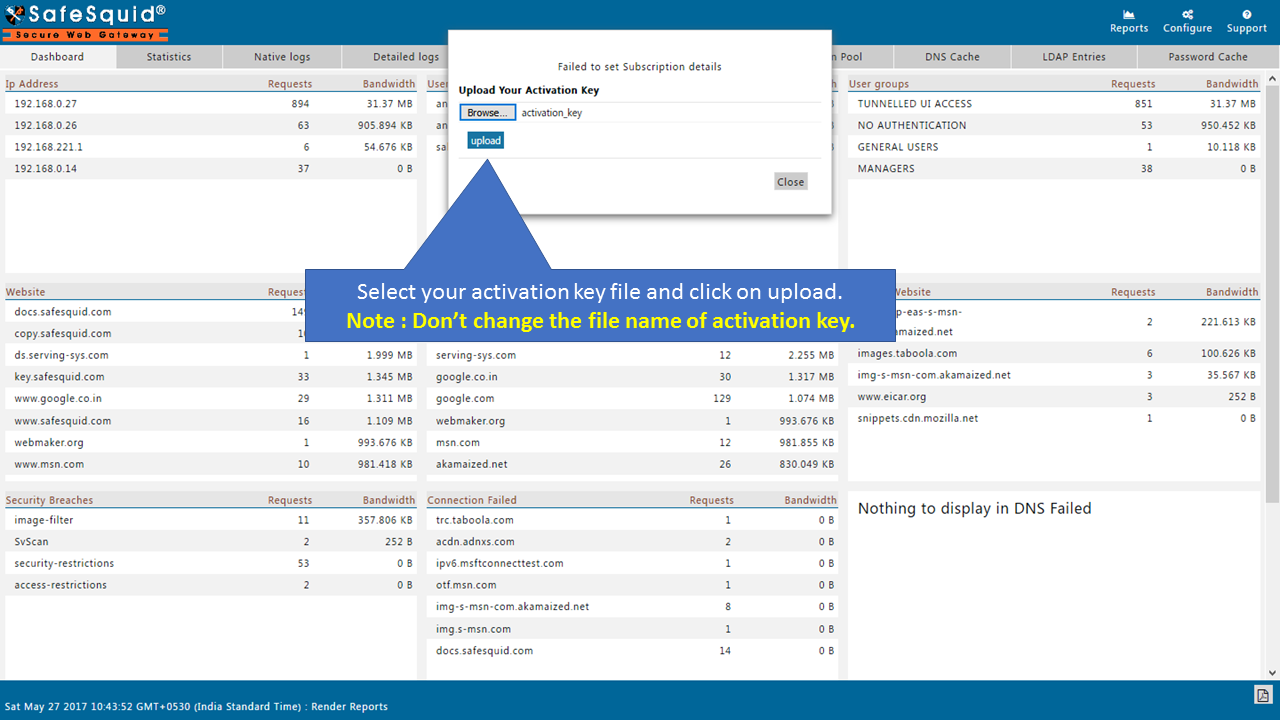
Do not change the activation key file name or contents.
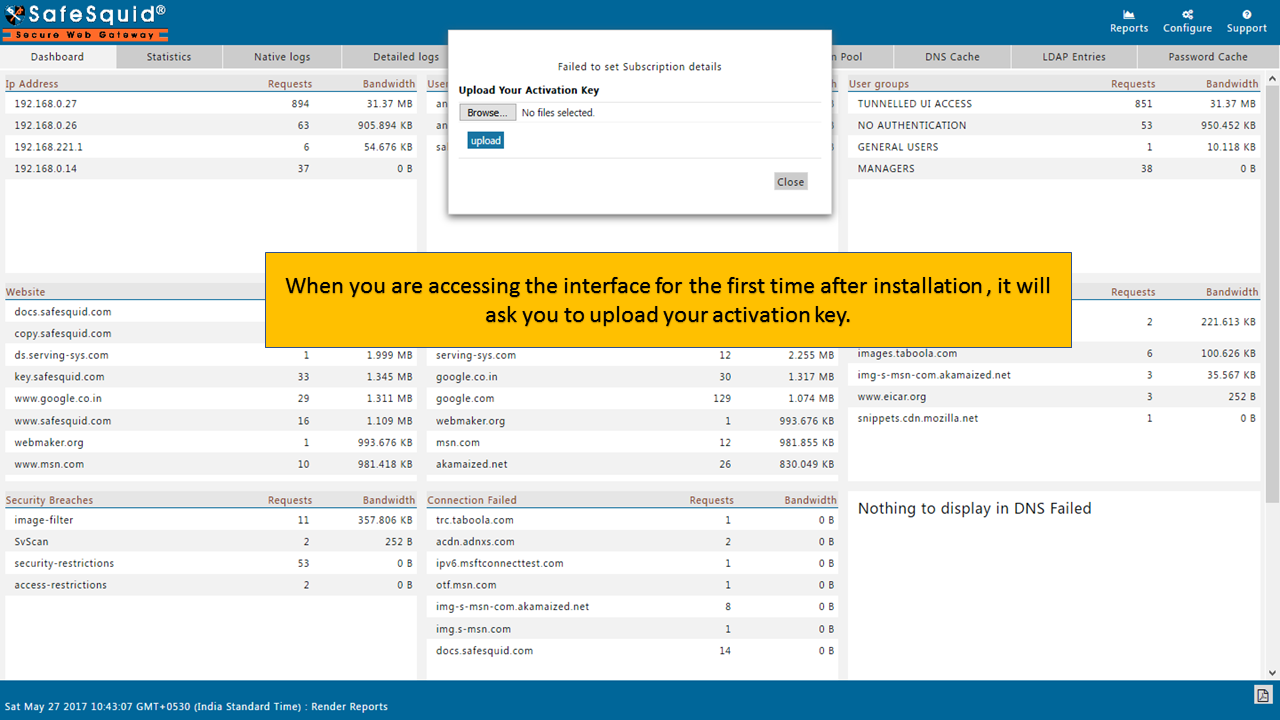
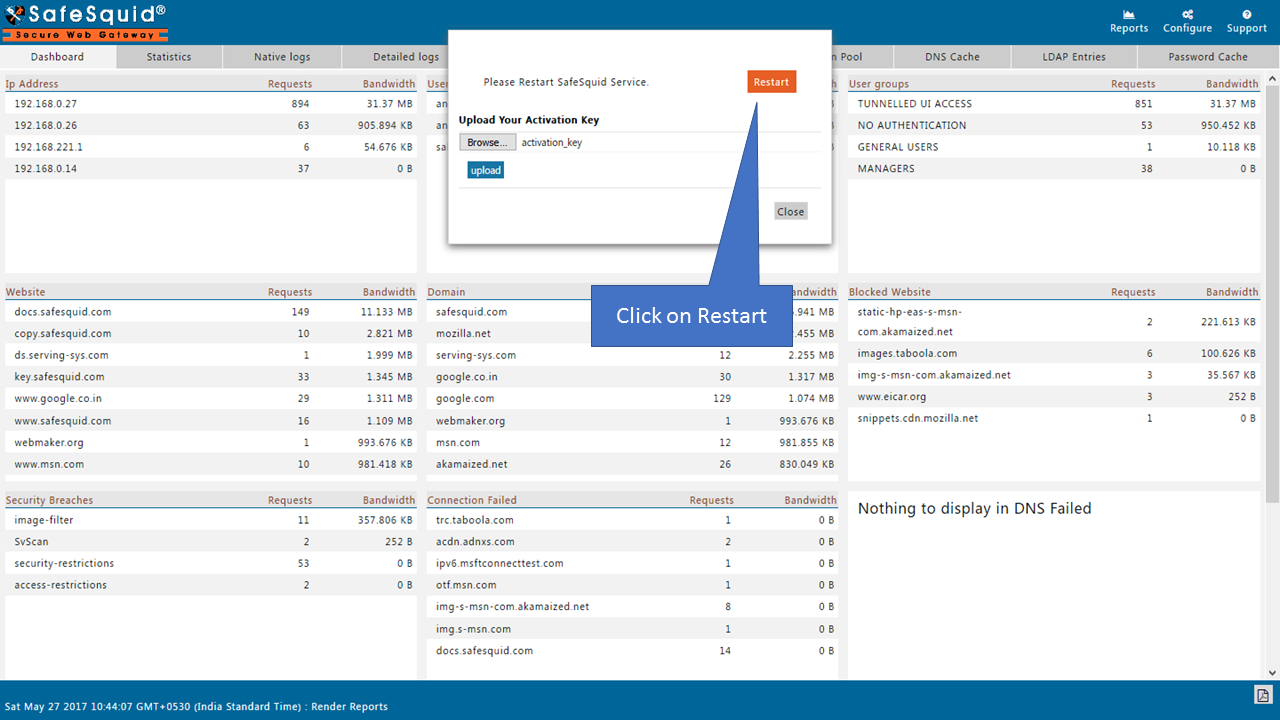
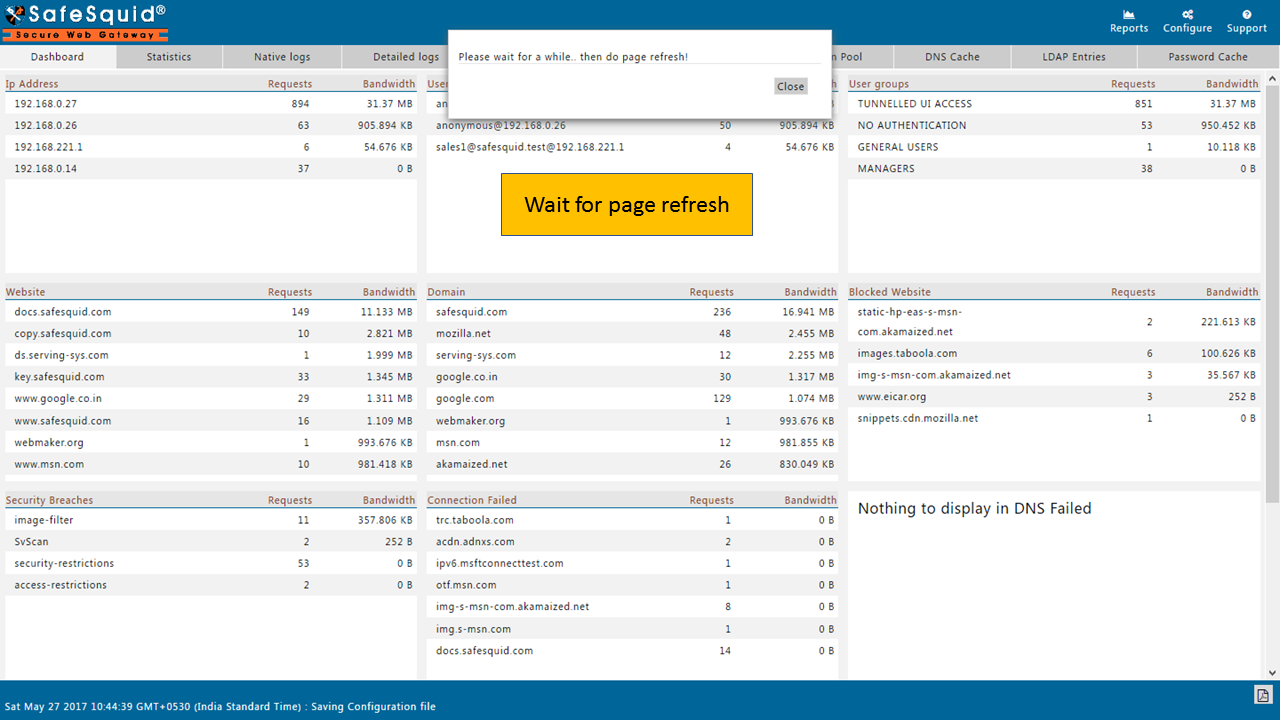
Upload the Activation key
First, configure browsers or network clients to route HTTP/HTTPS traffic through the SafeSquid proxy.
Validating Activation Success
-
Open a browser and go to: http://Safesquid.cfg/
-
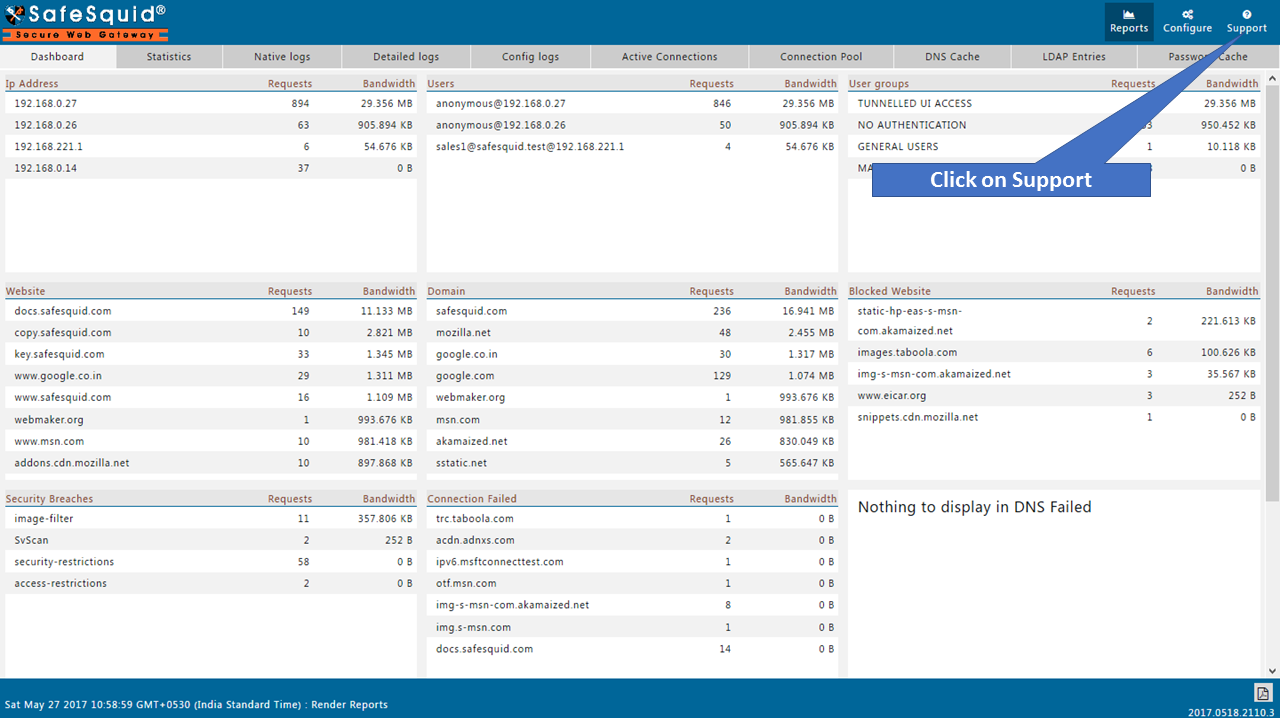
Access the Support section from the menu.
- Confirm the Activation Details section is populated.
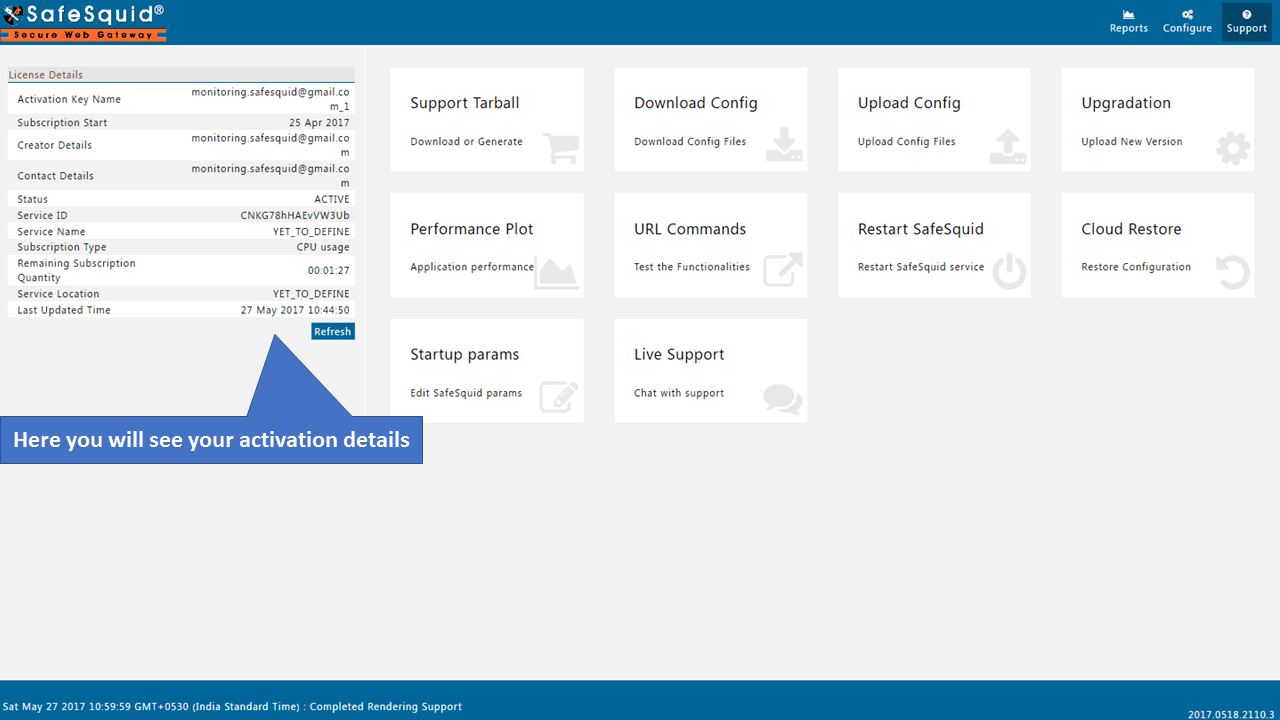
If these fields are present and valid, the license activation is confirmed.
Troubleshooting Activation Failures
- Case 1
- Case 2
- Case 3
Case 1: Activation Key Not Detected By http://safesquid.cfg/
Symptoms: After uploading the activation key, the SafeSquid UI displays "Failed to set Subscription details."
Root Cause: The activation key file is either missing or improperly named.
Resolution:
- Verify the presence of the activation key file:
ls -lrt /usr/local/safesquid/security/
Ensure a file named activation_key exists.
-
If absent or misnamed, re-upload the correct activation key file.
-
Restart the SafeSquid service:
/etc/init.d/safesquid stop
/etc/init.d/safesquid start
Case 2: Subscription Server Unreachable
Symptoms: Post activation key upload, the browser shows "proxy server refusing connections."
Root Cause: SafeSquid cannot connect to the subscription server due to network issues.
Resolution:
- Test connectivity to the subscription server:
ping swgupdates2.safesquid.net
nslookup swgupdates2.safesquid.net
Ensure the server responds and DNS resolution is successful.
-
If connectivity fails, check firewall settings and network configurations to allow access to the required hosts and ports.
-
After resolving network issues, restart the SafeSquid service:
/etc/init.d/safesquid start
Case 3: Improper Service Restart
Symptoms:
-
Even after uploading the activation key, subscription details remain unset.
-
The browser indicates the proxy server is refusing connections.
Root Cause: SafeSquid service was not restarted correctly after activation key upload.
Resolution:
-
Ensure the monit service is configured properly to manage SafeSquid.
-
If monit is not set up, manually restart the SafeSquid service:
/etc/init.d/safesquid stop**
/etc/init.d/safesquid start**